How to Get Perfect Balayage Highlights at Home
It’s time to get your glow on with at-home highlights.
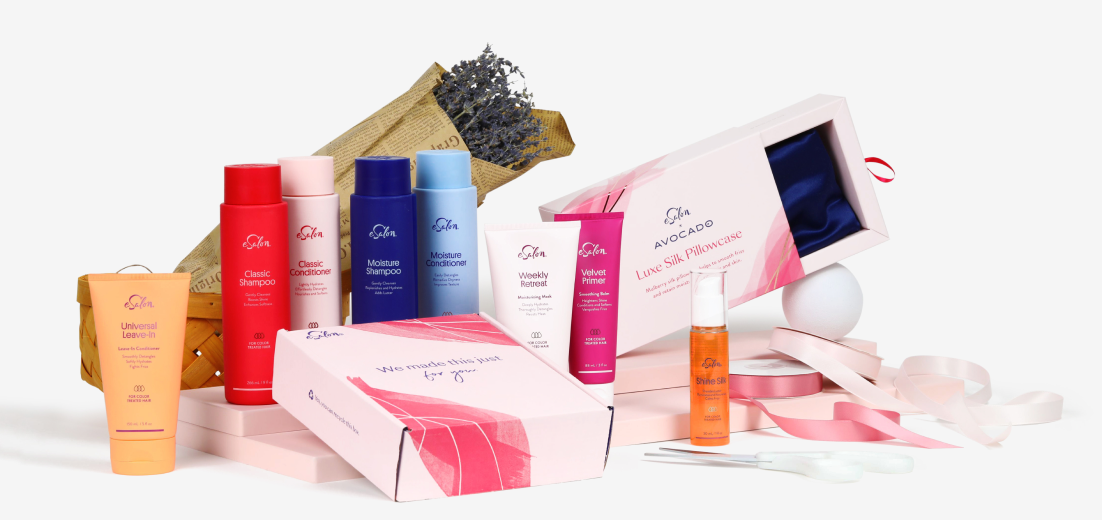
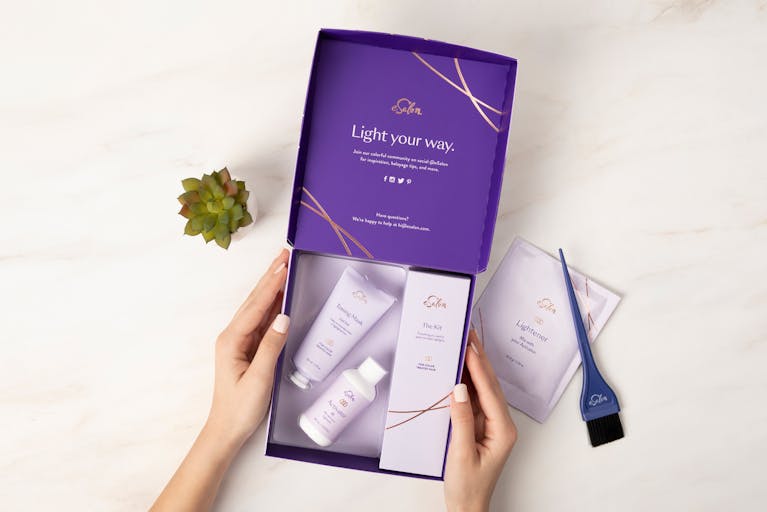
For the last several years, balayage highlights have become a popular hair color trend, offering a sun-kissed and natural look that's both chic and low-maintenance. Thanks to eSalon's balayage kit, Light Set, achieving the perfect balayage highlights at home has never been easier. In this tutorial, we'll guide you through the step-by-step process of getting salon-quality balayage highlights in the comfort of your own home.
What are balayage highlights?
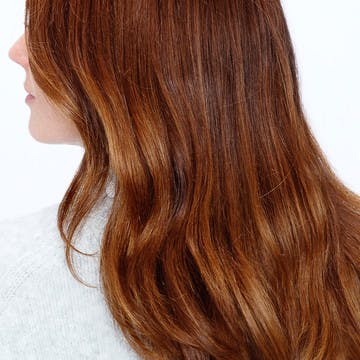
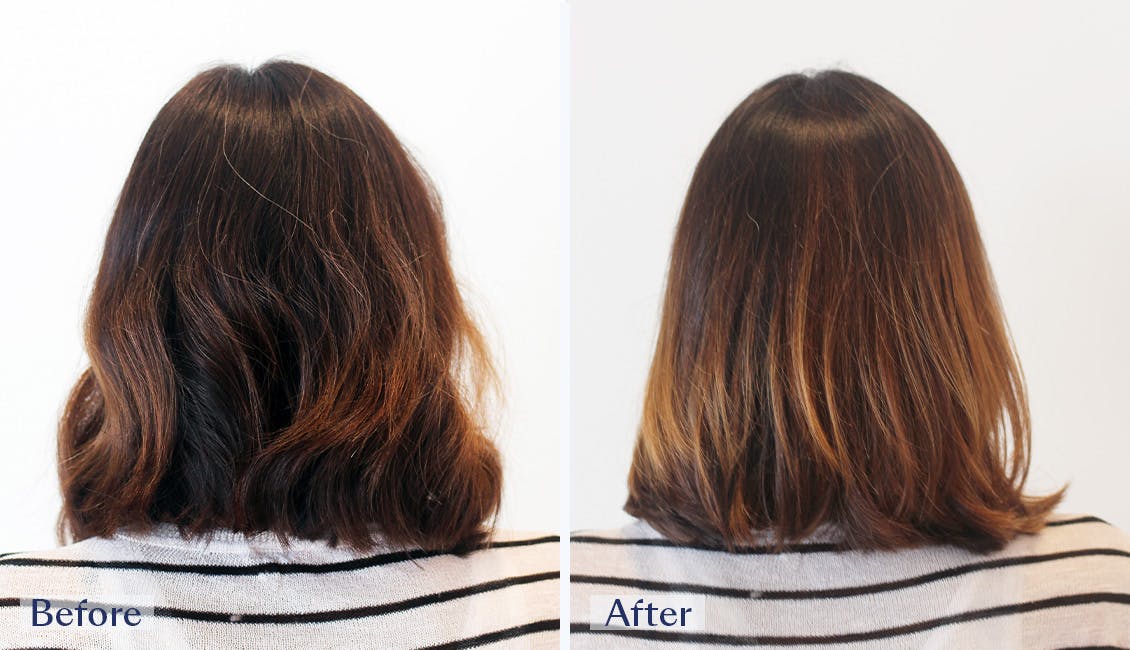
Balayage highlights are a hair coloring technique that originated in France. The balayage technique involves hand-painting the hair to create a subtle, gradual transition from the roots to the ends. The result is a sunkissed look that mimics where the sun would naturally lighten your hair, without the harsh lines at your roots or high maintenance of traditional highlights. Balayage is known for its versatility and ability to complement various hair colors and lengths, making it a popular choice among those seeking a low-maintenance, yet stylish, hair color option.
How to Get Balayage Highlights at Home
Materials You'll Need
1. eSalon’s Light Set which includes:
- Lightener & activator
- Mixing tray & application brush
- Non-latex gloves
- Highlight shampoo & toning mask
- Instructions
2. Old shirt or salon cape
4. Timer
Step 1. Preparing you workspace.
Protect your clothing with an old shirt or salon cape and lay out all your materials. Ensure your workspace is well-lit and have a mirror nearby.
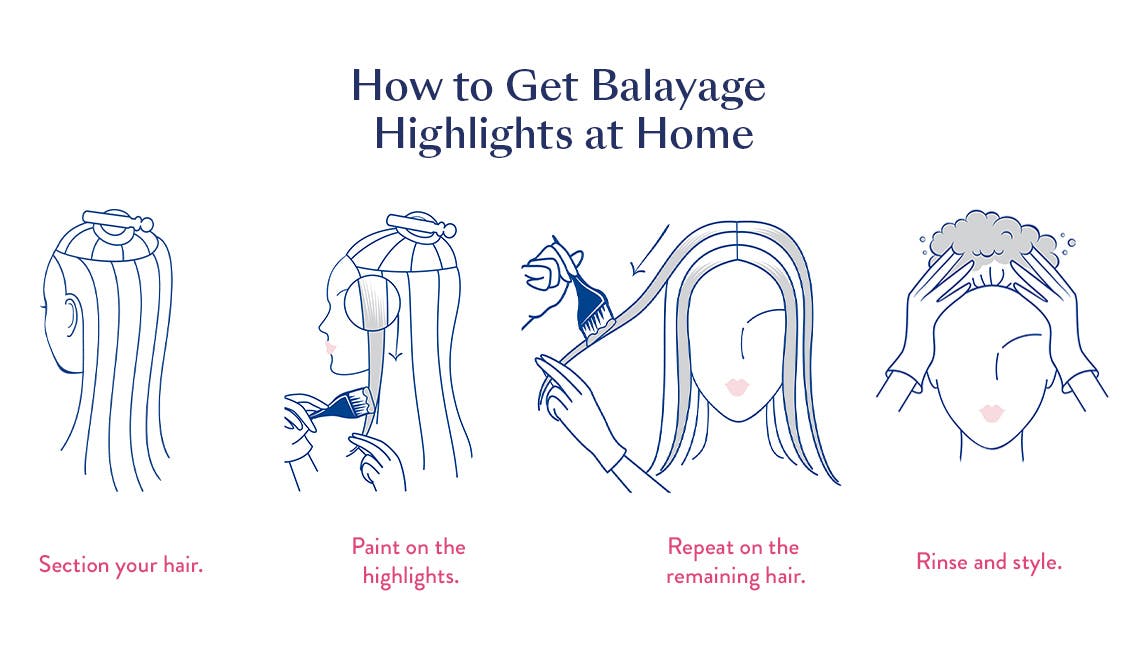
Step 2. Section your hair.
Separate your hair into sections. Start by creating a halo-shaped section from the recession of your hairline to the other end. The second section is more of a U-shape that goes from temple to temple. Secure each section with clips to keep them separate.
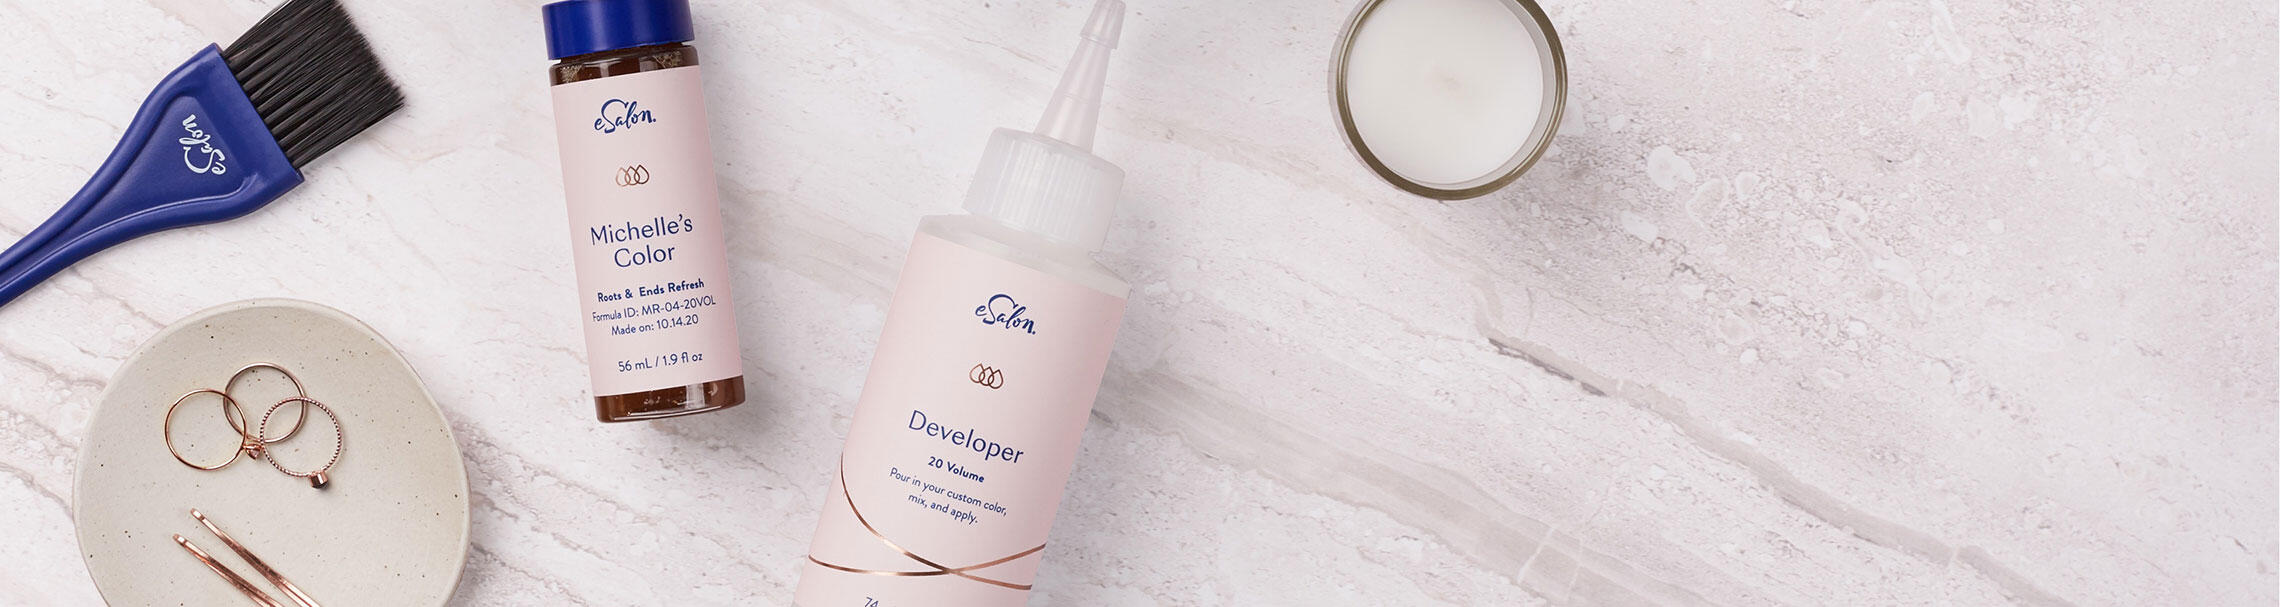
Step 3. Mix the lightener and activator.
Using the provided tray or a non-metal bowl, mix the activator and lightener with your application brush or a non-metal utensil. Be sure to wear your plastic gloves during this step. Mix thoroughly to create a smooth and even consistency.
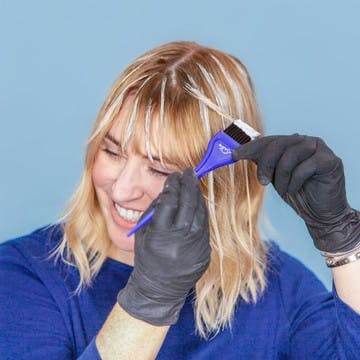
Step 4. Paint on the highlights.
Beginning with the bottom section, apply the product using the application brush. Start from the mid-lengths and work your way down to the ends, making sure to blend the color seamlessly with your natural hair. You'll also want to avoid your baby hairs as they may lighten differently than the rest of your hair. Once finished, bring down the second section and repeat until you have reached the top and final section.
For a more natural look, try to apply the product on areas that the sun would naturally lighten. For example, the front hair pieces and ends are always naturally lighter due to sun exposure. This is a free-flowing technique so it does not have to be perfect. Plus, our non-transfer formula means you don’t have to use any foils and is virtually mess-free.
For a full video tutorial on how to paint the highlights onto your hair, we've created this video tutorial to help guide you.
Step 5. Repeat on the remaining hair.
Continue applying the color to the remaining sections. Using a sweeping or “feathering” hand motion can really create an effortlessly blended look without the harsh lines at your roots that we typically see with traditional highlights. This is part of what makes the balayage technique so unique. For a more subtle effect, you can use less color and focus on the ends.
Step 6. Let process.
Once you've achieved your desired look, set a timer for about 30 minutes. Light blondes and very dark brunettes may need an additional 5 minutes.
Step 7. Rinse and style.
Once the timer goes off, rinse your hair thoroughly with lukewarm water until the water runs clear. Follow up with the shampoo and toning mask included in the Light Set kit. Style your hair as desired.
Colorist Tip: After shampooing your hair, ring out as much water from your hair before applying the Toning Mask. This will prevent the toner from diluting.
Step 8. Maintenance and aftercare.
To maintain your balayage highlights, use color-safe hair care products, and protect your hair from excessive sun exposure and heat styling tools with heat protectant sprays and protective stylers.
Our colorists also suggest using products that contain toning agents every 4-6 weeks, or as needed, to keep your highlights from turning brassy. Our Tint Rinse and Color Pro Toners are an excellent option.
With eSalon's balayage kit, Light Set, you can achieve the perfect balayage highlights at home without the hassle and expense of a salon visit. Follow these steps, and you'll enjoy a beautifully sun-kissed look that's sure to turn heads. Happy highlighting!