How to Highlight Bangs and Side Parts
In this step-by-step tutorial, our amazing pro colorists, Courtney and Emily, show you how to highlight your fabulous fringe in a simple, easy-to-follow way at home fit for any hair type.
Highlighting your hair at home is new for a lot of folks, and can seem especially intimidating for those who have bangs or side parts. With these home balayage tips, you'll be a pro at highlighting your fringe in no time. Plus, it'll give you something to show off on your next video chat session. Ready to add a little glow to your fringe? Let's get started.
How to Highlight Bangs
Whether you're sporting curtain bangs, side-swept bangs, or just face-framing layers, we've got you covered in this step-by-step guide.
STEP 1: PART YOUR HAIR
Before you get started, part your hair and let it fall how you like to wear it. This way you place your highlights where your hair naturally parts, so that your highlights reflect light and accent your best features—just how the sun would add its summer sparkle.

STEP 2: APPLY YOUR HIGHLIGHTS
Following your instructions, highlight your hair and save your bangs for last. Why? Because hair length matters in this process. Your bangs are the shortest hair on your head and are closest to your scalp. The natural heat from your head helps activate your lightener so that it processes quicker than the rest of your hair. By saving your bangs for last, you make sure they don’t over lighten from the heat––so you get natural, even results every time.

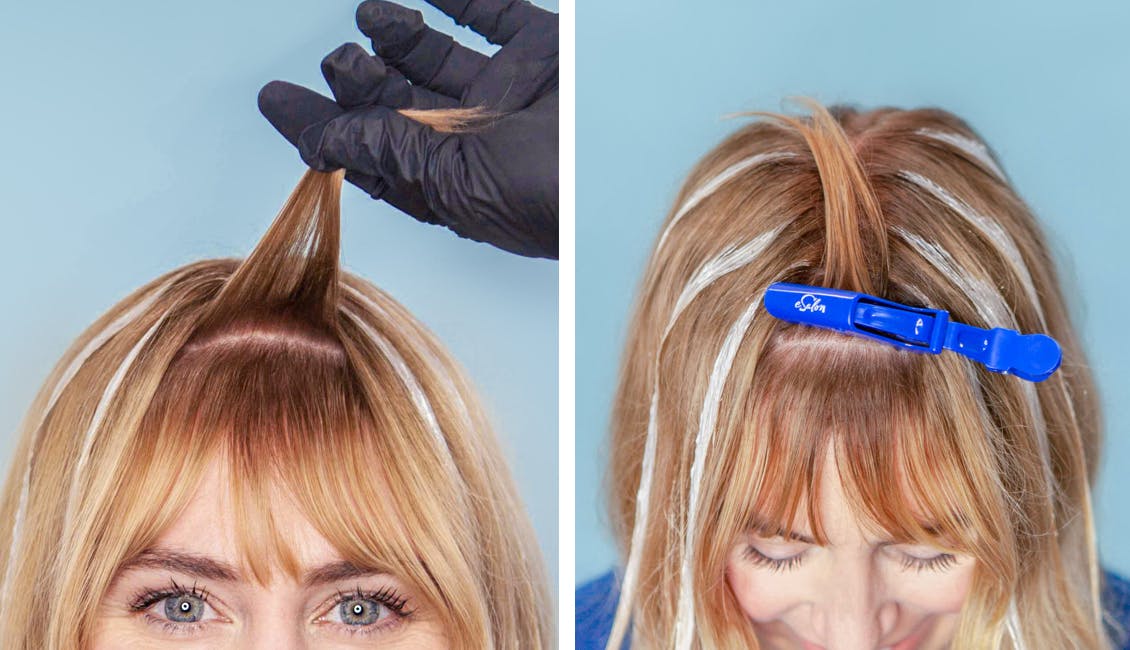
STEP 3: SECTION & CLIP YOUR BANGS
Bangs tend to be on the heavier side, so if you highlight them in one section instead of two, you run the risk of having chunky, fake-looking highlights. Splitting your bangs into two sections gives you a natural, sunkissed finish. Sparkle, sparkle. Then, taking the full bulk of your bangs in your hands, split a section horizontally across in two with your fingers, then clip the top section back.
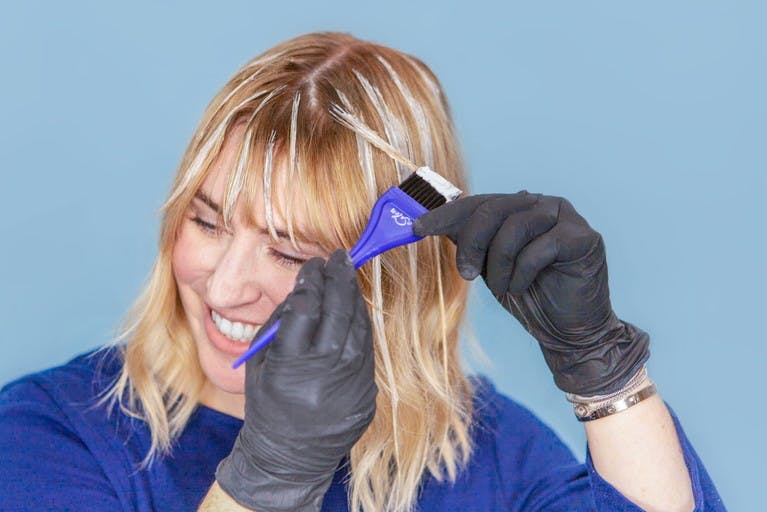
STEP 4: HIGHLIGHT DIAGONALLY
When it comes to your technique, we have three words for how you should apply your highlights: diagonal, diagonal, diagonal. Why? So that you don’t get those stripy, vertical, chunky 90’s highlights (hi Christina Aguilera). By applying your Lightener at a slant, you get soft, natural-looking style that doesn't look too uniform and stiff. To do this, apply your highlights closer to your scalp since this section of your hair is the shortest (we recommend about a half-an-inch away). Highlight about 3-4 strips of hair equal-distance apart (a fun way to practice for social distancing).

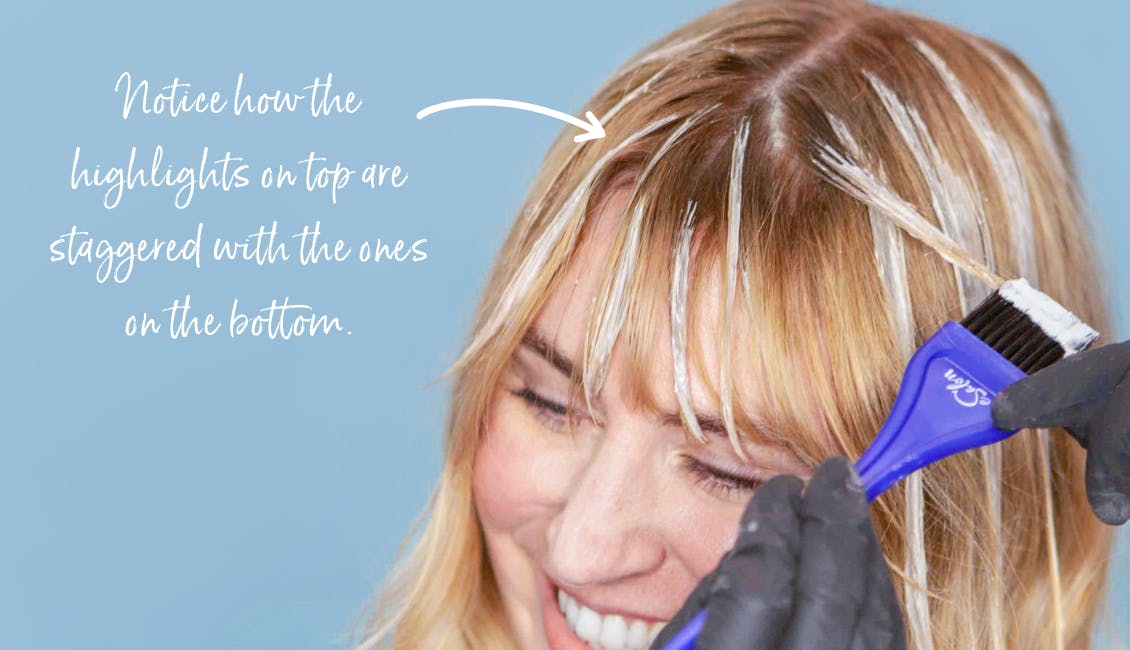
STEP 5: HIGHLIGHT YOUR TOP SECTION
Let down your top, clipped-back section. Using a staggering technique here (which we call the “bricklaying” style) to avoid that chunky finish; you don’t want the highlights in the lower section to be exactly below the highlights in your top section––you want them to be slightly to the right of them. By bricklaying your highlights, you’ll get a sunkissed look that’s au natural, and no one will be able to tell you did it yourself. Mischief managed.
STEP 6: ALLOW YOUR BANGS TO PROCESS
Allow your bangs to process for at least 10 minutes, then head to the shower and rinse per your instructions. That’s it!
How to Highlight Side Parts
Stay tuned to learn how to bring out your best features with your at-home highlights for any hair type.
STEP 1: PART YOUR HAIR
Just like we did in the section about bangs, part your hair and let it fall around your face as you normally like to wear it. Remember, that we part this way so that your highlights frame your face to give your hair the most natural style with a flattering shimmer. Now it’s time to section.

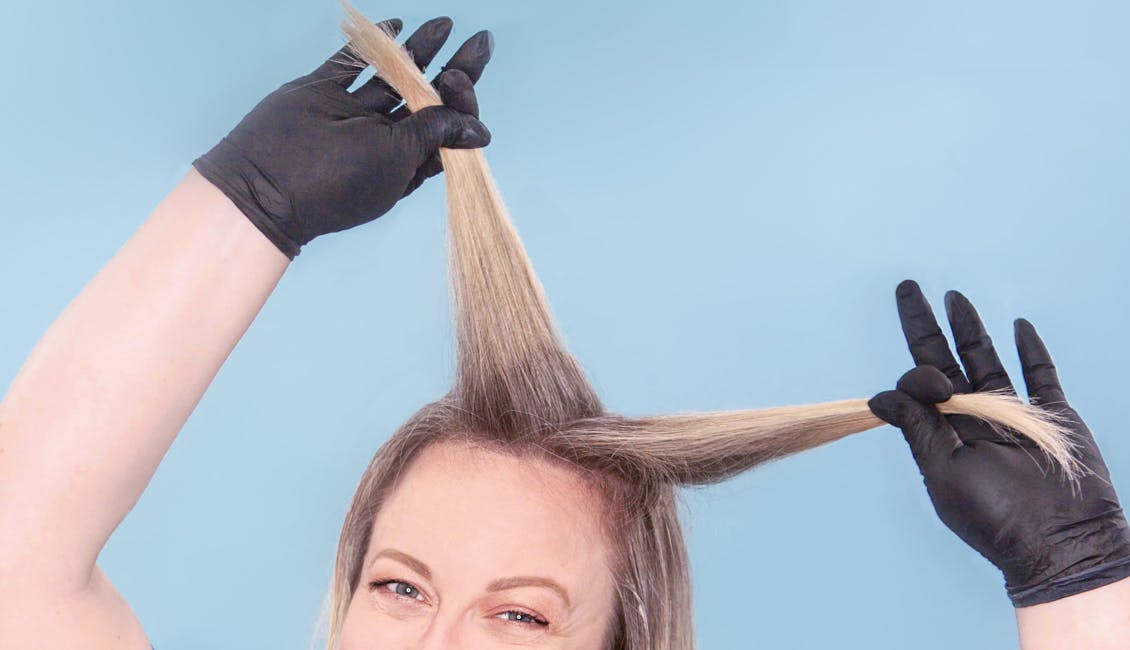
STEP 2: SEPARATE YOUR SECTIONS
Instead of parting horizontally like you would with straight-across bangs, part your side part at a diagonal slant. Separate the hair of your face-framing layers evenly into two sections and hold them up and apart.
Clip back the top section, so it’s out of the way, leaving the lower half easily accessible.
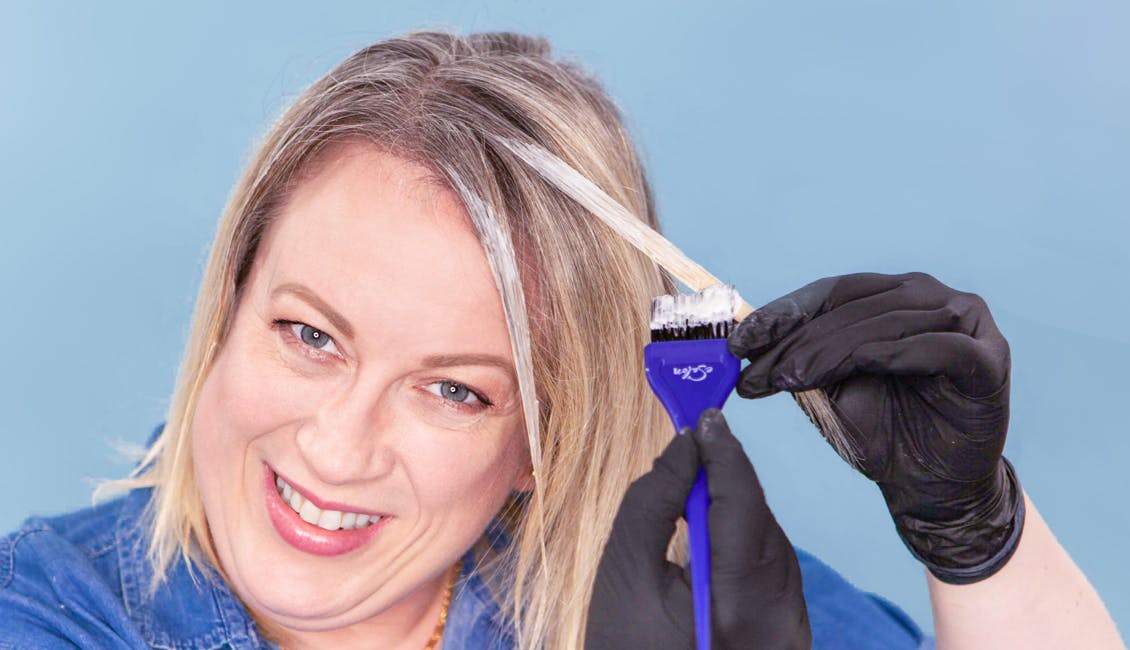
STEP 3: APPLY YOUR HIGHLIGHTS DIAGONALLY
Using our diagonal application technique, place your highlights off-center and paint away from your face for natural looking results with this side-swept style.
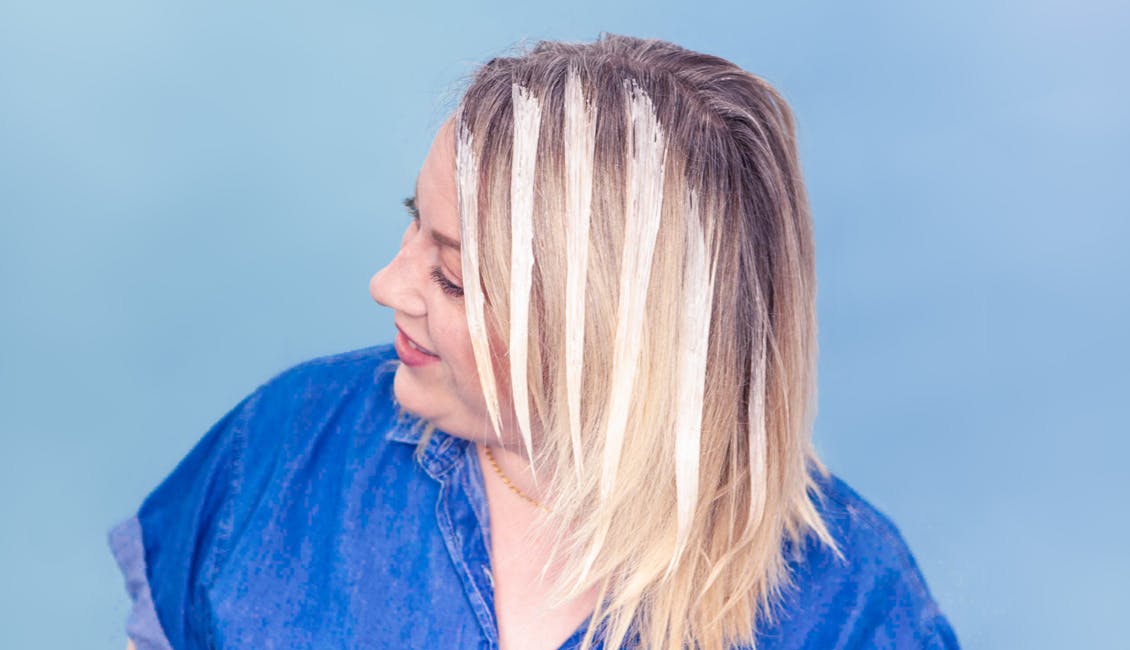
STEP 4: STAGGER YOUR HIGHLIGHTS & PROCESS
Stagger your highlights as you slowly get closer to your roots. When you let your highlighted hair down, you won’t have to worry about it touching the hair underneath—it’s okay if the pieces below get a little bit of that lightening action too. This will give your final look a more sunkissed glow, even if you haven't been in the sun for a bit.
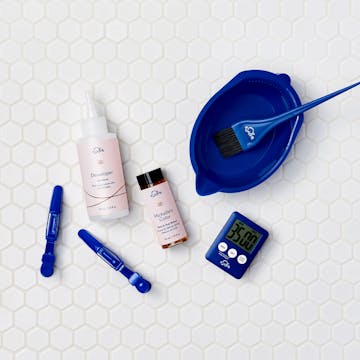
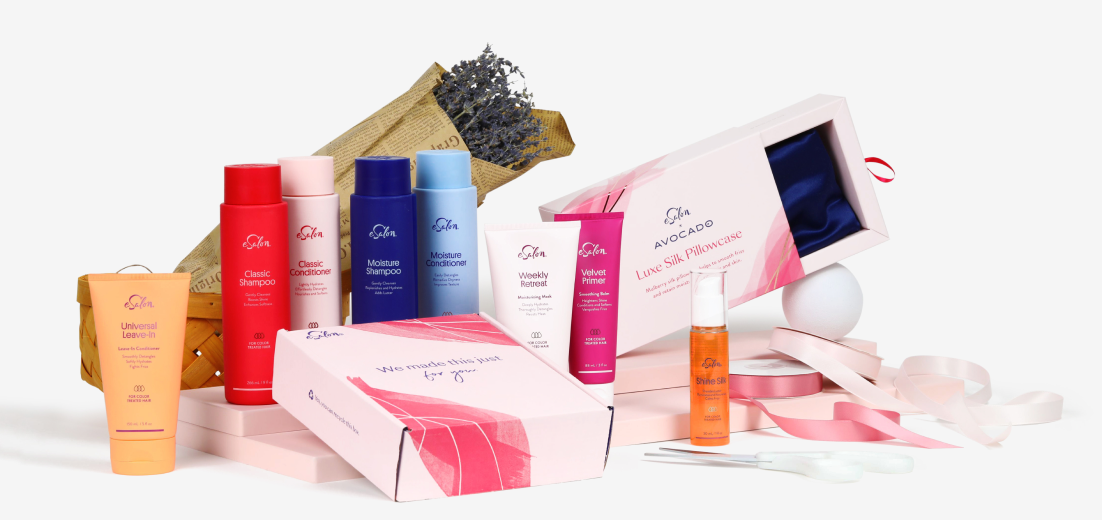
You did it! If you need a little extra help keeping your new look light and bright, we have a few tips for any hair type here. And if you’re looking for an easy home highlighting kit, try our Light Set for just $14. Share your post-color selfies with us @esalon on Instagram.