Brush or Bottle? Which Method is Best for At-Home Hair Color
Learn the pros and cons of each at-home hair coloring technique.
When it comes to at-home hair color, eSalon strives to make the entire process as customized to your needs as possible. From your custom-made shade to even finding the right application method for your desired hair goals, we know that every color application is unique. In this article, we’ll dive into the pros and cons of two popular at-home hair coloring techniques— the bowl and brush method and the bottle method—to help you find which is right for you.
Bowl & Brush Method
When you go to the salon, this is typically the method that a colorist will use to dye your hair. This method can require a little bit of practice using the application brush, but once you’ve got it down it’s the best option for a more controlled and saturated application. This is also a great option for those only looking to recolor their regrowth.
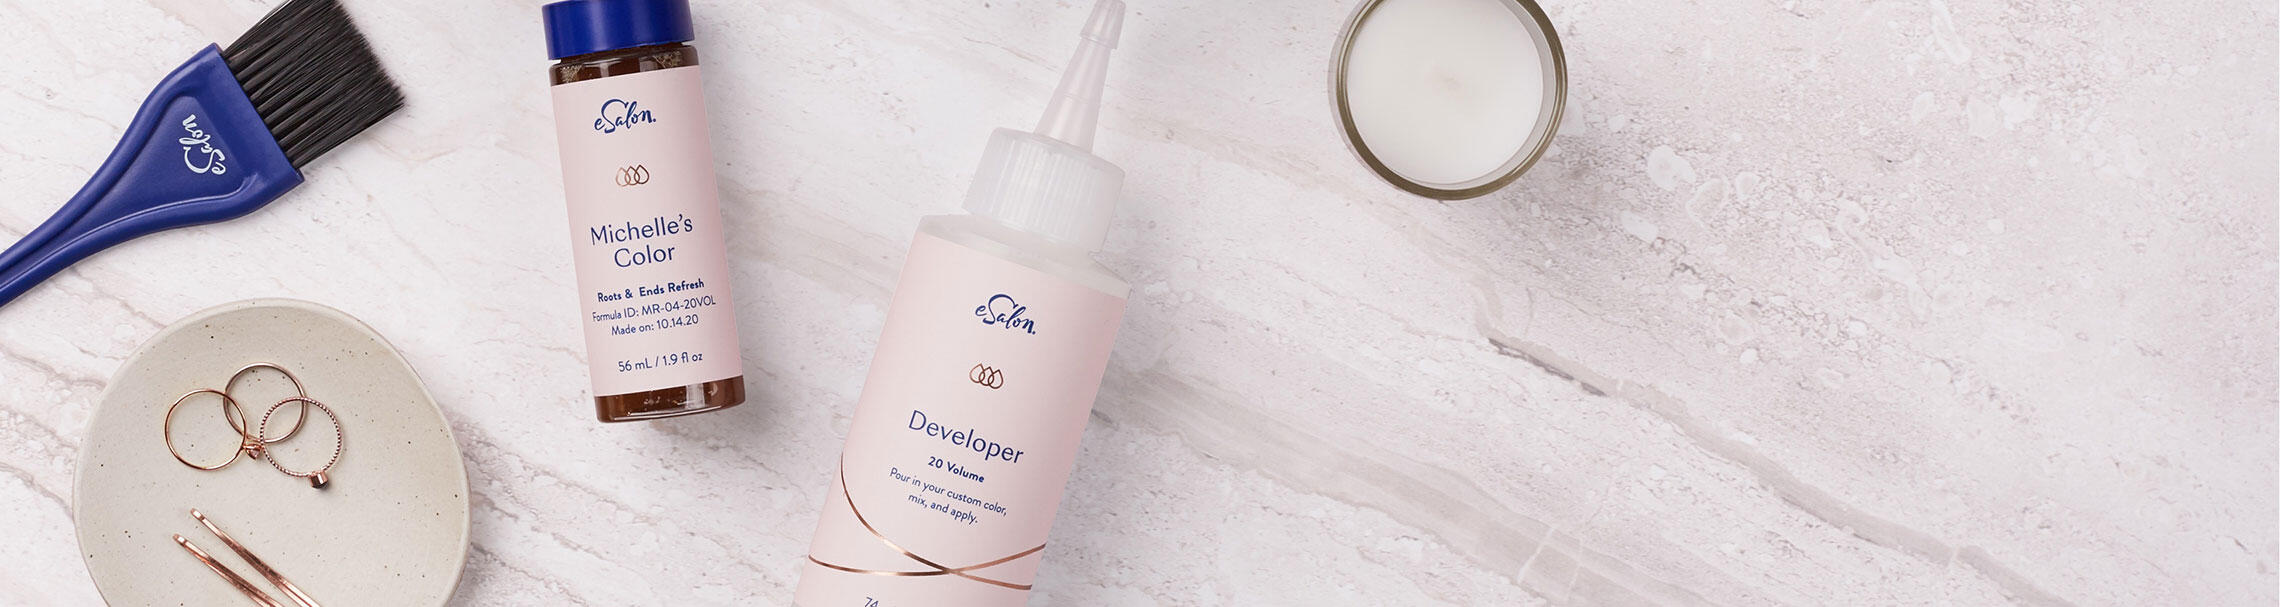
Our colorists prefer this method so we provide you with a salon-quality Tint Brush with your first Custom Color Set that you can use again and again. We also sell extra brushes in the shop if you need a new one throughout your hair color journey!
Pros:
- Added control and precision of application.
- Added saturation of your strands.
- Tail end of the brush helps to create smaller subsections of hair.
Cons:
- This method takes a little practice.
- Requires tools.
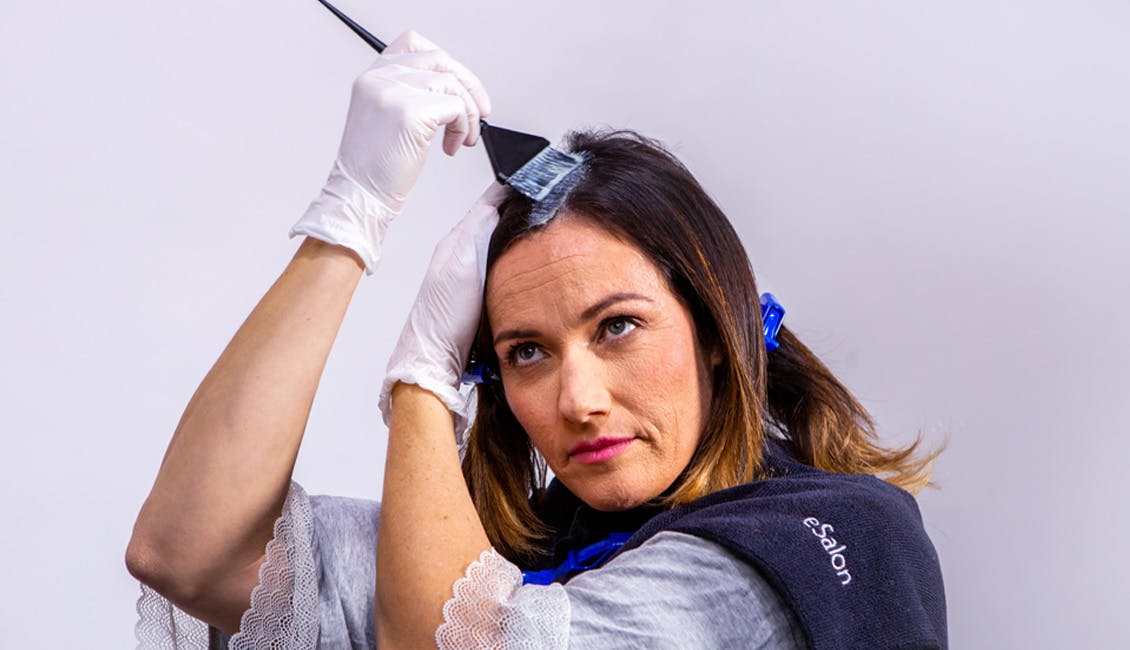
How To Apply Color Using the Bowl & Brush Method
1. Using the end of your Tint Brush, divide your hair into sections where you plan to apply your color.
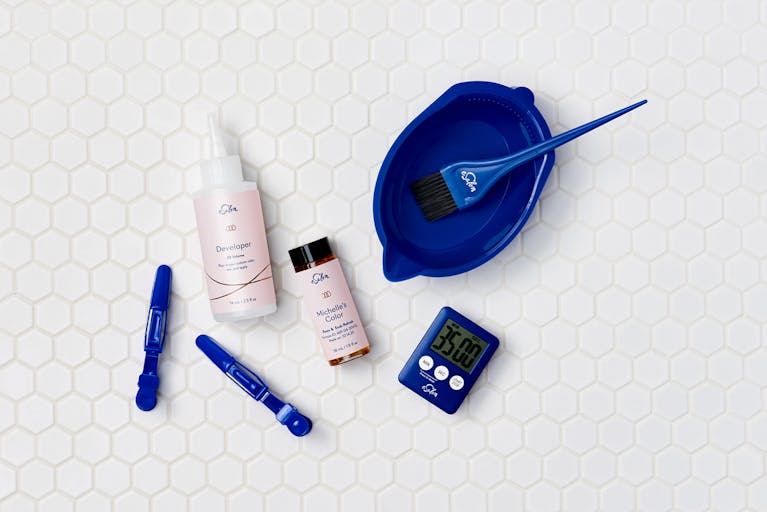
2. Pour your color and developer into a non-metallic bowl and mix until combined.
3. Dip your Tint Brush into a bowl and outline each section of hair with color until new growth.
4. Apply color to roots and regrowth with Tint Brush, keeping away from previously colored hair then repeat on remaining sections of hair.
5. Set a timer according to your personalized instructions and let your color process.
Bottle Method
Another technique for coloring your hair at home is known as the bottle method. This technique simply uses the developer bottle to apply your hair dye. Applying your shade directly with the bottle is a good option for anyone looking for an all-over color that doesn’t require specific subsections.
This method is also quicker to apply your color since there’s minimal sectioning required, perfect for those in a time crunch.
Pros:
- There are no added tools needed.
- Very approachable for beginners.
- A good option for short hair and those in a time crunch.
Cons:
- This technique lacks precision.
- Often doesn’t create enough saturation for a rich color result.
- This method can also lead to wasted products.
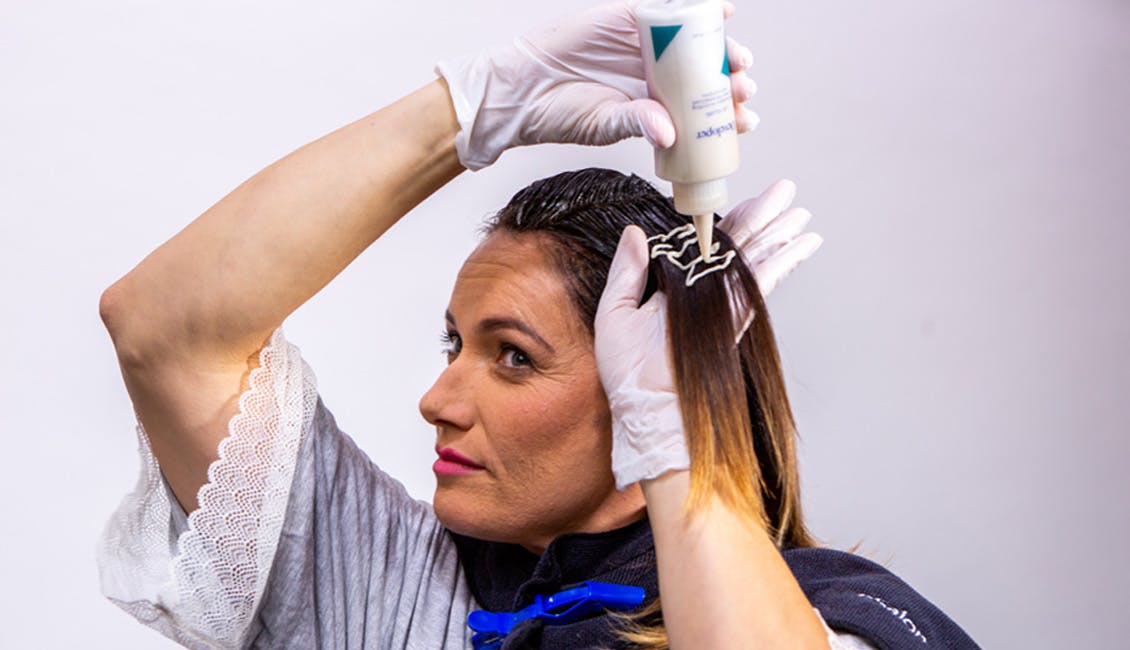
How To Apply Color Using the Bottle Method
1. Start by dividing your hair into four sections with plastic clips.
2. Pour your color into your developer bottle and shake to mix.
3. Outline each section of hair with the tip of the bottle.
4. Apply color to roots and regrowth with the tip of the bottle, spreading color with fingers, keeping away from previously colored hair.
5. Once your roots of a section are covered, reclip your hair and repeat on the remaining sections of hair.
6. Set a timer according to your personalized instructions and let your color process.
Now you know a little more about our favorite hair color application methods and you can decide what option is right for you. For more custom color application tips, expert colorist advice, and giveaways, follow us @eSalon on Instagram, Facebook, and Pinterest.