How to Get the Perfect Blowout in Minutes
Get the polished finish you want with these expert tips.
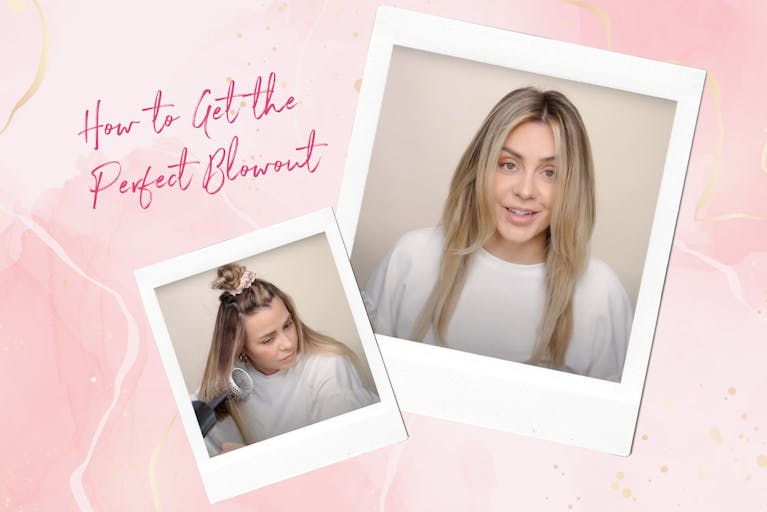
At eSalon, we believe that everyone deserves to feel like a superstar every day. One surefire way to achieve that level of confidence is by mastering the art of the perfect blowout. In this quick and easy guide, we'll show you how to get the perfect blowout in minutes, so you can step out with hair that's sleek, voluminous, and ready for anything.
Step 1. Choose the right styling tools.
To get a salon-quality blowout, it’s important to invest in a good-quality hair dryer with a concentrator nozzle. The concentrator directs the airflow, giving you better control and less frizz. For added volume, use a round brush, which can help you achieve that bouncy, salon-quality look. For a sleek and frizz-free style, a boar bristle round brush is great for creating the tension needed to smooth unruly strands.
Step 2. Prep and protect.
Before you begin, make sure your hair is clean and 80% dry. Hair is most vulnerable to heat damage when it’s wet so be sure to let your strands dry a bit before going in with your blow dryer. Plus this will speed up the actual time spent blow drying. It’s best to use low heat whenever possible and to keep the blow dryer a few inches away from the hair to help prevent excessive heat damage.
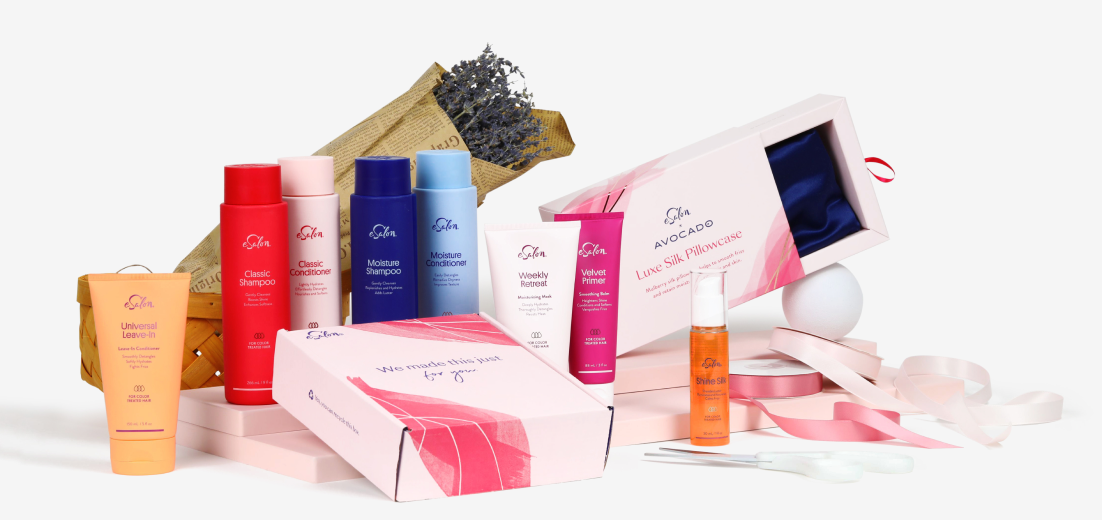
To further protect your hair from heat damage and add extra shine, use a heat protectant spray like Triple Prep, which helps shield strands from heat styling up to 450°F. You can also use a smoothing balm like Velvet Primer for added polish. This essential step sets the foundation for a quick at-home blowout.
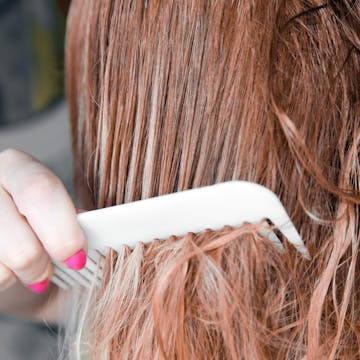
Step 3. Section the hair.
Divide your hair into manageable sections. Start with the bottom layer, then work your way up. Securing your hair with clips or hair ties will keep it organized and make the process smoother. The smaller the sections, the more control you'll have, ensuring a more polished finish.
You can divide the hair into four easy sections, one section in the crown, two sections on the side, and one in the back. Make sure to let each section cool before moving on to the next! You’ll know your hair is dry when it’s room temperature to the touch. If you touch your hair and it is cold, it may still be wet.
Step 4. Begin the blowout.
With your first section ready, take 1-2 inches of hair, start blowdrying at the roots, and work your way down. Hold your hair taut with the brush and aim the concentrator nozzle down the hair shaft, in the direction you want the hair to lay, to avoid creating frizz. Use a continuous, slow motion, ensuring the heat is evenly distributed. Repeat this process for each section, and be patient—a good blowout takes time!
For added volume, you can take the hair around your face and at the top of your head and stretch these sections up and forward while using the hair dryer. Creating over-direction and tension while blow drying helps to create more lift within your hair.
Step 5. Cool it down.
Once you've dried each section, switch your dryer to the cool setting. Blast each section with cool air to set your style in place. This step is crucial for locking in the smoothness and shine.
Step 6.
Now that your hair is perfectly blown out, add some extra polish if needed. A shine serum like Shine Silk can help smooth the hair cuticle to reduce frizz and hydrate dry ends. Make sure to focus this product on the lengths of your hair to avoid weighing down your volumized roots.
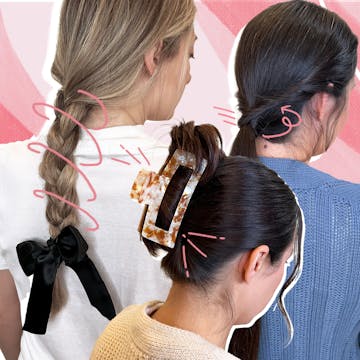
You can also spritz on a light-hold hairspray to keep everything in place and enhance shine. For a more natural look, gently run your fingers through your hair to loosen up the strands and give it a little movement.
Getting a salon-quality blowout in minutes is not only achievable but can also be a fun and empowering experience. With the right tools and a little practice, you can confidently step out with salon-worthy hair every day. To get prepped and ready for your next at-home blowout, head to our shop for all of your styling essentials.