Coloring Virgin Hair At Home: Everything You Need to Know
Ready to color your hair at home for the first time? You've come to the right place.
Coloring your hair at home is one of the easiest ways to revamp and refresh your look. Whether you want to add highlights, go for a subtle change, or try a completely new hue, mastering the art of at-home hair dye is an important skill to have—especially if you have virgin hair. While it may seem easy to slap on some hair dye and call it a day, there are a few important things to consider before dipping your toes into the DIY hair color realm. That’s why we turned to our team of professional colorists to share everything you need to know about coloring your hair at home.
Select the right formula for your desired color.
When it comes to at-home hair color, you typically have the option to choose from permanent hair color or demi-permanent color to fit your coverage goals. If you have over 75% gray hair and want to get maximum gray coverage, permanent hair dye may be the best choice for you. This type of hair color offers a rich, long-lasting finish and will need to be re-applied every few weeks to keep up with the new growth at your roots.
If you have a few stray gray hairs or just want to experiment with a subtle change, demi-permanent is likely a better option for your color goals. This type of color is designed to fade over time and may require less upkeep depending on the color of your roots. If you’re not sure which formula to use, you can always talk to one of our colorists to guide you in the right direction.
Find your dream hair color.
Chances are, you already have a color in mind for your new look. However, it’s important to consider the limitations of at-home hair dye. The general rule of thumb is to pick a hair color that is no more than two shades lighter or darker than your current color. If you go any further than that, you may not get the exact color you were hoping to achieve.
While drastic color changes are possible over time, it may take a few applications to get to your desired color. So if you want to go from dark brunette hair to light blonde hair, patience will be your best friend. You may even need to apply highlights in order to get the end result you’ve been looking for. That said, our colorists are always happy to help make a plan that is customized to your needs to get you to your dream hair color at home.
Start with clean, detangled hair.
One of the most common questions we get about dyeing your hair at home is, should I wash my hair before coloring it? The short answer is no. The natural oils on your scalp can help serve as a protective barrier to guard against any irritation you may experience from the chemicals in hair dye, so you don’t want to wash them away.
That said, you don’t want any product build-up lingering on your strands either as it can deter the dye from penetrating the hair. If you use a lot of hair care products, you may want to wash your hair at least 24 hours before applying hair dye. This will help you get a more even hair color from root to tip.
Set up your station and read your directions.
Before going in with your hair dye for the first time, it may be helpful to set up your station with everything you need like:
- Gloves
- Dark towel for your counter
- Dark robe or t-shirt to wear while you color your hair
- A timer (or your phone)
- Application brush (if using)
This way you won’t need to run and grab something while your hair is saturated with color. It’s also helpful to read over your instructions to get an idea of what is ahead of you.
Do a strand test.
It can be tempting to skip this step, but you want to know exactly how your hair and skin are going to react to the dye that you have selected. Simply apply color to a small, inconspicuous strand of hair and if everything goes smoothly, you’re good to go on!
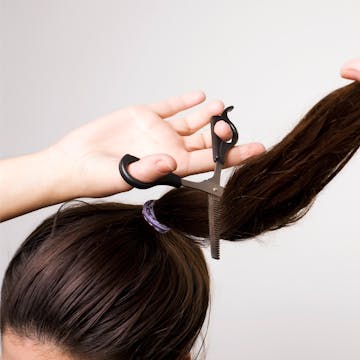
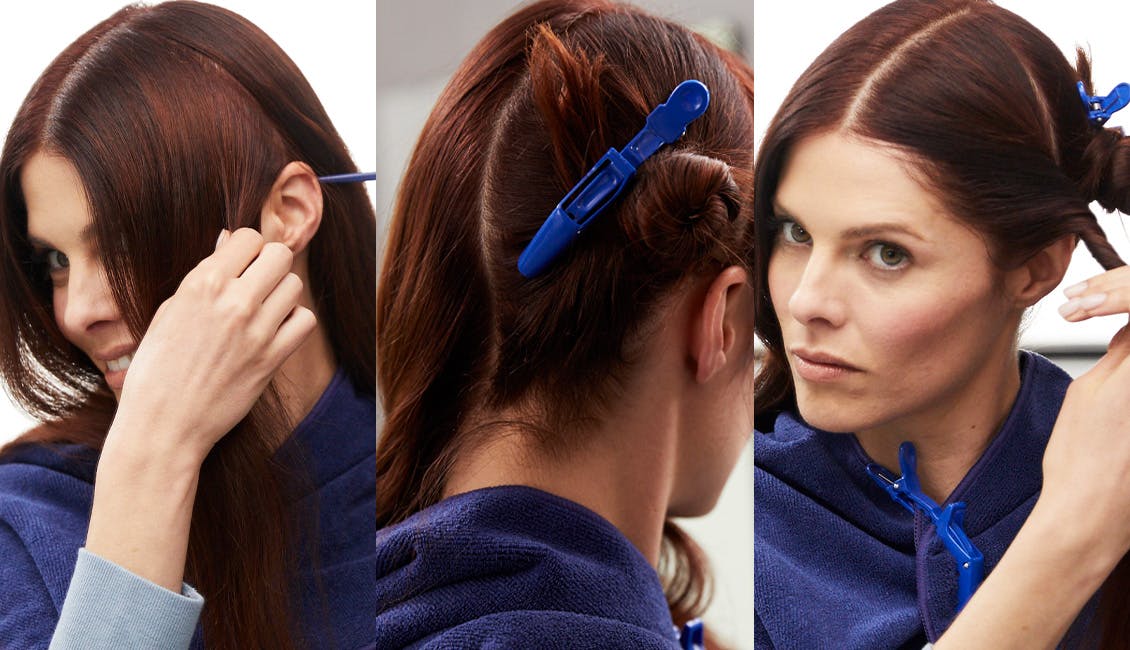
Section your hair.
To help ensure that you get an even all-over color, our colorists recommend working in small sections rather than trying to color your whole head at once. Generally speaking, you will want to separate your hair into four sections: two at the top of your head and two at the base of your head. Depending on your hair type, you may need to add a few more sections. This allows you to fully saturate one section before moving on to the next. No missed spots here!
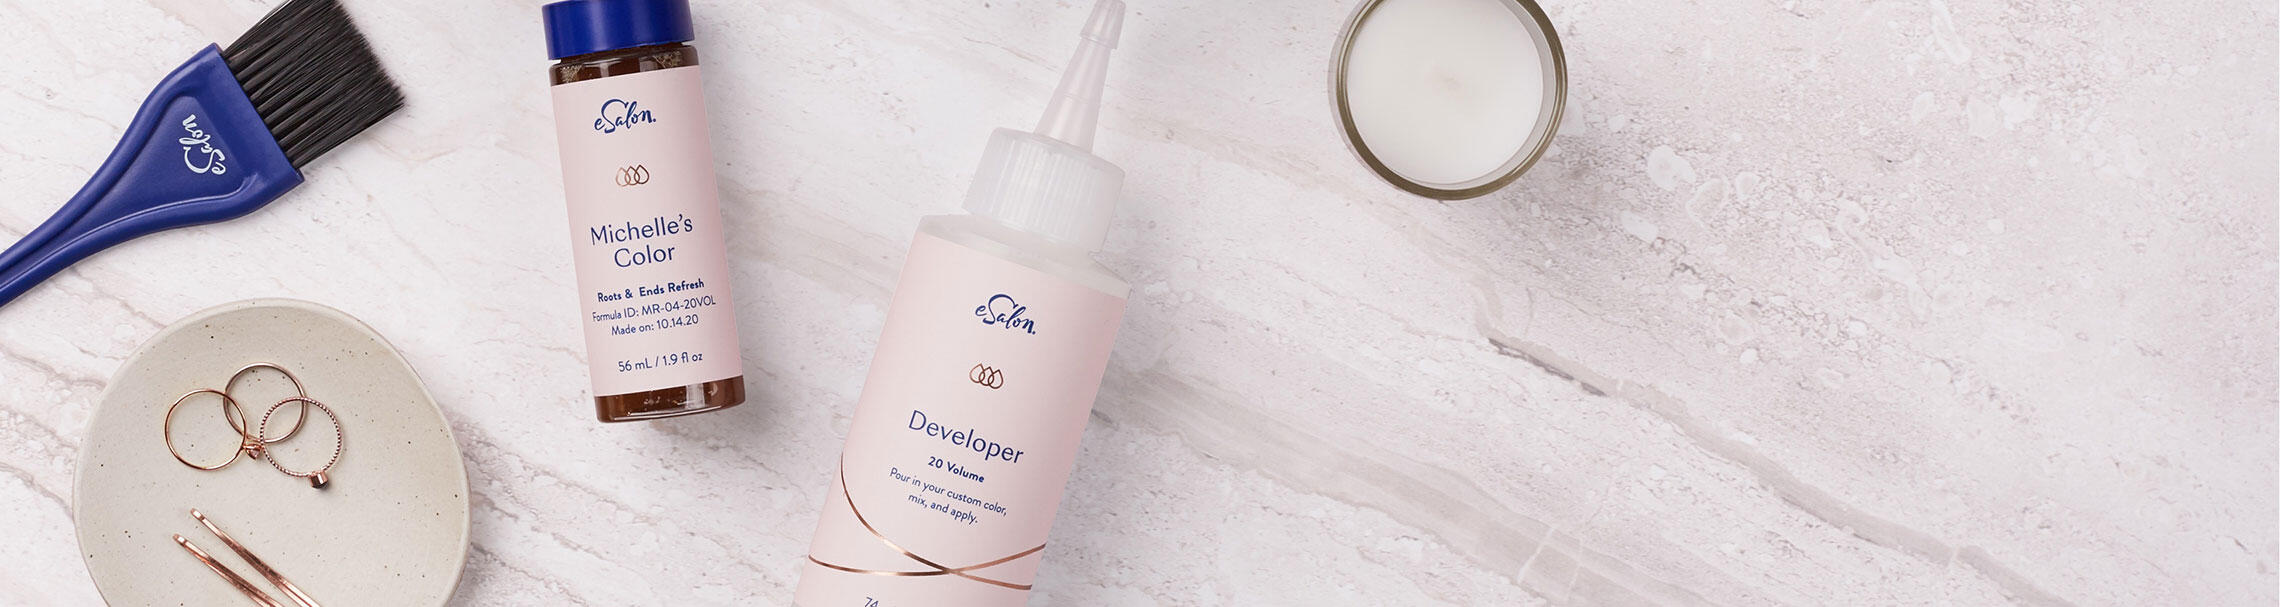
Apply color following your directions.
This may seem obvious but it’s essential to follow the directions of your chosen hair dye. At-home color kits have been formulated to work in a specific way, so it's important to use the exact instructions you received for any application recommendations like processing time and post-color care.
Wash and condition your hair.
Once your color has processed, it’s time to step in the shower and get rid of any excess color. To prevent splashing and staining on your tile, tip your head back and allow the water to run through your hair until it is relatively clear. It’s unlikely that the water will run completely clear after your first wash. After rinsing, shampoo and condition your hair as normal or as your directions advise.
Style and enjoy your new color.
And voila! Style your hair as normal and pat yourself on the back for a job well done. You made it through the coloring process with flying colors.
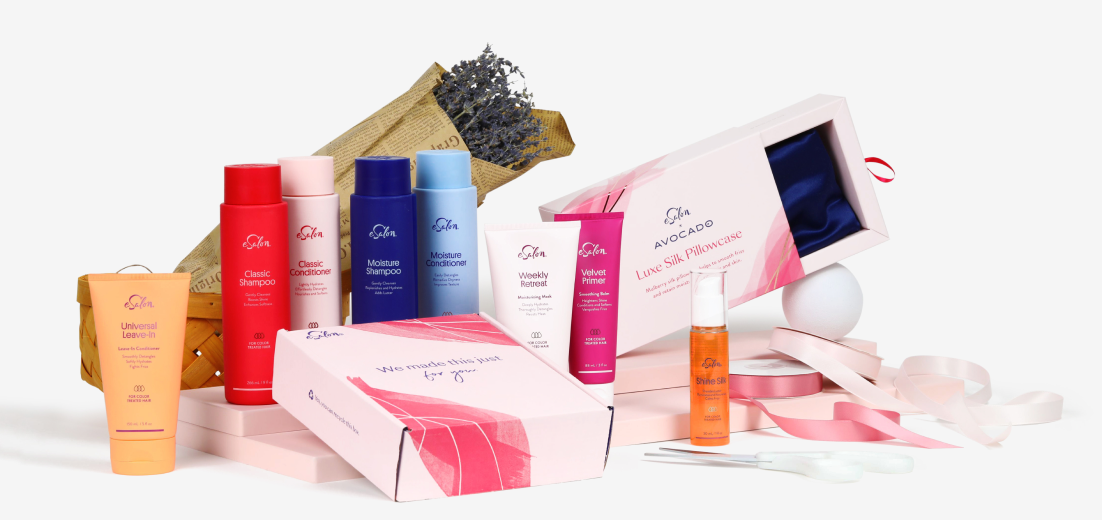
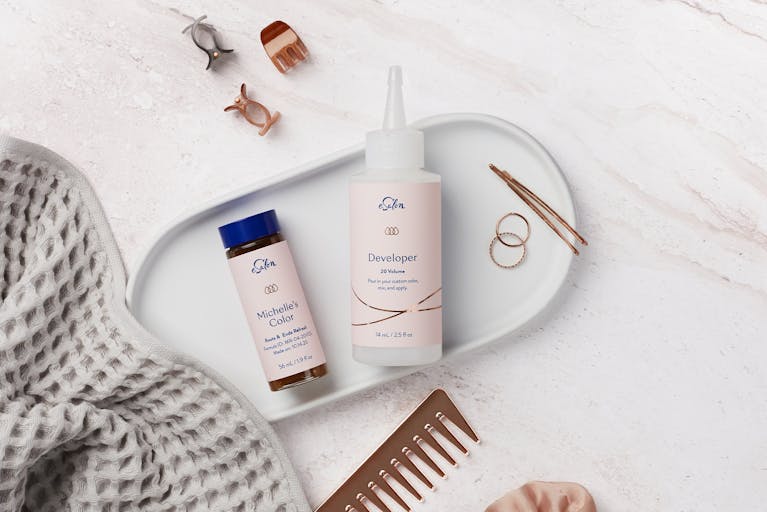
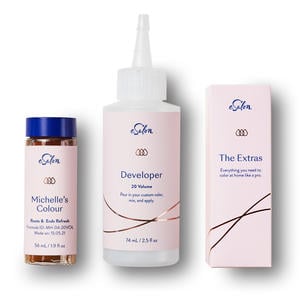
Coloring your natural hair at home might seem intimidating but with eSalon, it is easier than ever. Our Custom Color Set features a hair dye that is completely unique to you, tailored instructions, and access to a professional colorist for extra guidance. Sounds pretty good, right? Get started on your custom color journey today for the best at-home color experience.