8 Pro Tips for Covering Gray Hair at Home
When it comes to gray coverage, whether it’s color-resistant locks or hard-to-reach spots, covering grays and silver strands fully and effectively can be a tricky business when you’re working with at-home hair color. Luckily, we’ve got the inside scoop from our in-house colorists on how to get gray coverage right, every single time for the best results.
01 Make it Permanent
The graying process happens to the best of us. If you’re looking for color that lasts (and we think you are!), permanent color is the way to go. Unlike demi-permanent, which lasts only 24 washes, the permanent color will penetrate the grays and alter your hair’s natural color. Done right, you’ll be rocking fabulous gray coverage ‘til your next application to combat stubborn gray hair.
02 Guard Your Skin (Not Your Hair!)
When utilizing permanent hair color or other hair processes keep the product where it belongs, in this case through careful use of a color-resistant Stain Guard. You want to use enough of the product on your hairline and ear tops—but stay away from the hair itself. For best results with permanent hair color products, it’s better to get a little on your scalp or hair follicles than not have enough to cover your root area. This goes for all hair types.
03 Stubborn Areas First
Anyone who has dyed their stubborn gray hair or silver strands at home knows that grays can be, well, stubborn, phew! Go for the most color-resistant grays first, so that they’ll get the longest processing time. Note that these could be at the temples, the crown, new hair growth at the roots, or anywhere your last permanent color or demi-color application faded more quickly than the rest.
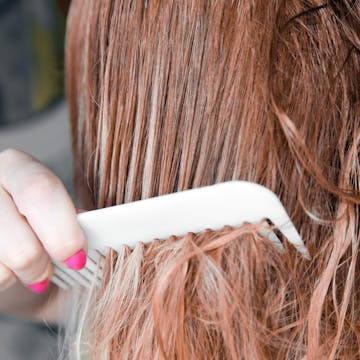
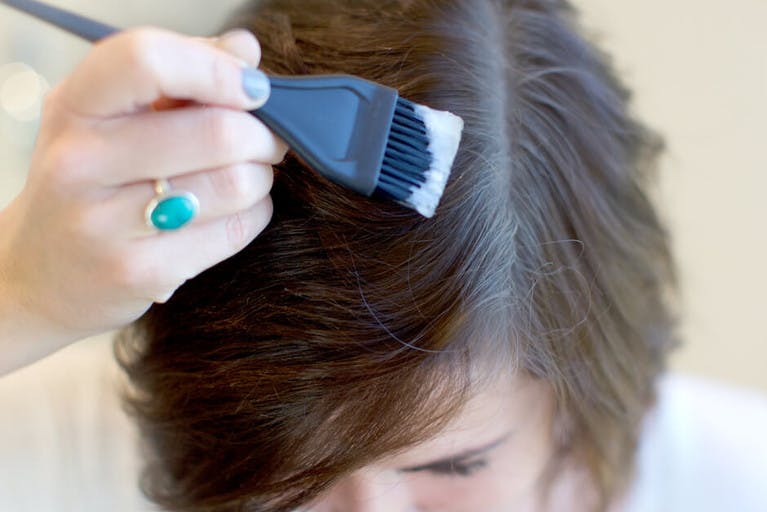
04 Section and Slice
All the pros know that a smaller work area makes for quicker, more thorough work, whether that be covering grays with permanent hair dye or doing another process on your natural hair or previously colored hair. So when dyeing at home, take the time to divide your hair into four sections; then work in ¼” slices within those sections. This is an appropriate approach for all hair types. This way, you’ve got every last strand under total color control.
05 Use Plenty of Color
Even coverage and best results depend on one major thing: enough pigments to penetrate those stubborn grays. Fully saturate the root area, and then go back and do a cross-check in the opposite direction for any stray silver strands or gray hairs. Better to over-apply than to end up with uneven gray coverage.
06 Processing Time is Crucial
We are so serious about this one! When doing at-home hair color for grays and silver strands, make sure to take the full processing time for your hair. Rinsing the color too soon can cause uneven gray coverage, less-than-full coverage, or even (gasp!) translucent results with the natural hair still visible. So, after you’ve finished your full application, make sure to set your timer.
07 Check While Processing
Hair color tends to swell and puff up as it processes, which can propel grays up and out of the pigment you just applied. (Crazy, right?!) So to make sure stubborn grays stay covered in color, start with a patch test before getting started then do a thorough re-check about halfway through processing time and add a bit more to any hair follicles that may have come undone or where your natural hair color is coming through.
08 Make a Plan
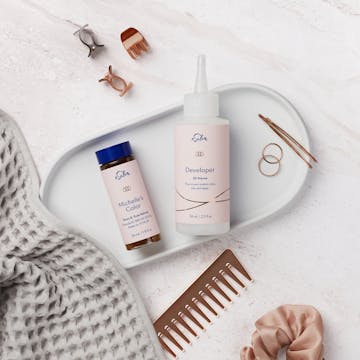
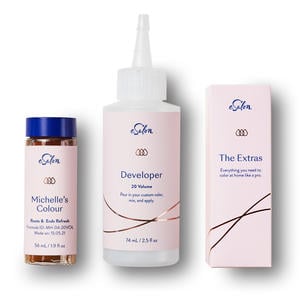
In color as in life, consistency is key. Set your Color Plan to your personal time schedule—for your grays and silver strands that might mean every 8 weeks or every other weekend—and your color will arrive at your door right on time. For the grays that peep out between applications, well, we always have a root concealer handy, just in case.
Now’s the time to work with an expert stylist to design a color made specifically for your grays and silver strands to use at home. Um, buh-bye, grays.